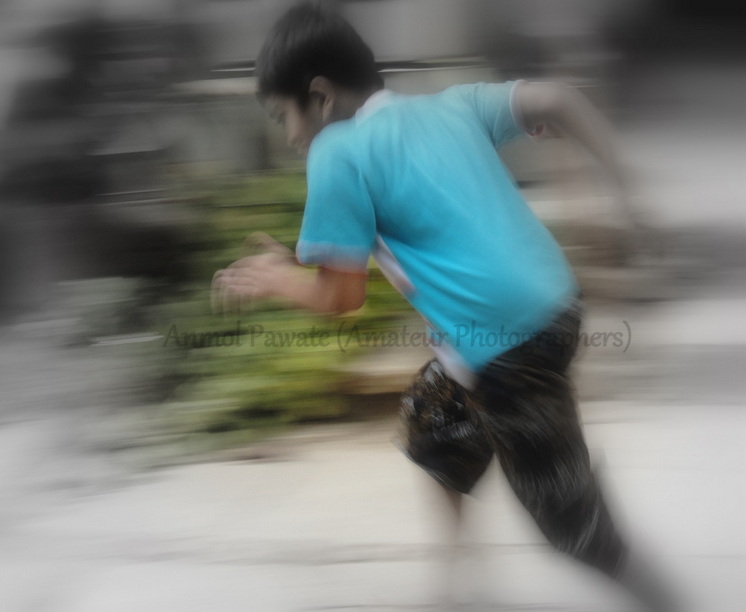
Panning—Motion
Technically, you should not be able to show motion in a still photograph. After all, the image on the paper is not moving; it’s not going anywhere. But your mind takes the blurred image and tries to make sense out of it. "Aha!" it says. "That’s not a blurry picture; that’s a horse and wagon moving very fast. I get it."
Part of our delight in “reading” pictures is the I get it part.
Panning is nothing new. It’s been around almost as long as photography itself. Originally it was forced on photographers who had no hope of capturing fast moving action without moving the camera in synch with their subjects. They simply lacked film that was fast enough to give them a fast shutter speed.
Racehorses and early motorcar races were enticing subjects at the turn of the century. Photographers discovered, to their delight, that they could get reasonably sharp images and that they really liked the streaked backgrounds resulting from swinging the camera along with their subject.
The joy of that discovery never seems to fade. Discovering this little trick was one of the most thrilling stages of my early photography. I must have been 13 or 14 years old, playing with my dad’s old folding Ansco (he’d moved further up the photographic equipment ladder by then). The camera had one shutter speed: 1/50th of a second—hardly enough to stop a lazy butterfly. I had a beagle named Dixie who was like a streak of lightning when it came to chasing rabbits. No way to stop that motion with a 1/50th-of-a-second shutter speed.
Panning was the answer. I must have picked up the technique from one of the photography magazines of the day. I remember thinking: You move the camera during the picture? How’s that going to work?
Slowly, the concept dawned on me. If I panned along with my racing Dixie—that is, if I moved the camera in perfect synchronized motion with her as she flew by—she would actually remain in almost exactly the same place in the picture! The rest of the image would be blurred, but since she was glued to one spot on the film she would be fairly sharp.
It worked! Dixie was sharp—well, my kind of sharp at that time—and the background was wonderfully blurred. When I raced out of the darkroom to show the picture to my parents, they offered a tone of incredulous awe. That tone of their voices was music to my ears. Later that summer, the same picture elicited similar accolades from the judge at the county fair. She gave me a blue ribbon (before moving on to judge the canned tomatoes).
I was hooked.
Almost every student photographer I’ve ever taught has the same aha! moment when they finally get the idea. But while the concept is simple, the execution has many ways of going wrong.
So here are a few tips to up your percentage of keepers. Panning is a percentage game. One in ten good shots is major league success. One in 100 is not out of the ordinary. But that one will be worth your trouble.
- Understand the basic concept. Panning works when you move the camera in perfect motion with the subject. It’s not enough to just swing the camera from side to side. You have to move it in perfect synch with your subject.
- Choose the right subject. Generally (and up to a point) it is easier to pan with a fast-moving subject than a slow one. Sprinters running sideways to you are great examples. They are moving fast enough that you can pan smoothly with their motion, and they are running in a straight line. People walking are almost impossible; they are too slow to get much blur and it’s difficult to pan smoothly. Football players are tough because they move erratically.
- Use Manual Exposure or maybe Shutter Priority metering. Whichever you choose, the object is the same. You don’t want the shutter speed to change while you are shooting.
- Pick a good shutter speed. This is important; however, there is no “correct” shutter speed for panning. The longer the shutter speed, the more blurred the background will be. A long shutter speed will make your subject pop out from the background, and that is good. But the longer the shutter speed, the more difficult it is to get the subject reasonably sharp. It’s a balancing act. As a starting point, let’s go back to the example of the sprinters running across the picture. Try anything between 1/8 and 1/60 of a second. Beyond 1/8 of a second it's really tough to get sharp, but it can be very interesting. Above 1/60 of a second, the camera will probably stop too much action and ruin the effect. Except for low-flying jets at air shows. Then you might need 1/500 second, and that brings us to our next problem.
- Find the right background. The right background is almost as important as the right subject. The background must have some detail in order to produce the pleasing streaks you are looking for. That is why the jet is a bad subject for panning when it is up against a plain blue sky. Pan all you want but the sky will still be a featureless blue. Nothing will look as if it “moved.” On the other hand, backgrounds with too much contrast will often make bad backgrounds for panning. Just one person in a white T-shirt can create an unsightly white blob in your photograph. Choose carefully.
- Use the viewfinder correctly. Your viewfinder is your friend when it comes to panning. The best trick is to find a focusing mark in your viewfinder and put it on your moving subject. Now, try to keep that point perfectly aligned with your subject. Crosshairs would be perfect, but we don’t have them in camera viewfinders, so we have to make do with what we’ve got.
- Practice panning smoothly. Fluid, smooth motion is the name of the game. No jerking, no rushing, no hesitation. Stand with your body facing where you ideally want to shoot the picture, then rotate your shoulders to pick up your subject in the viewfinder. Start shooting before your subjects reach the ideal point; keep shooting after they pass that point. Follow through just like a good golfer. And practice. Good panning shooters literally go out and just practice their movements.
- Go for the Goldilocks Effect. The combination of subject motion, panning, and shutter speed is not a precise science. Don’t be afraid to adjust to conditions.
- Try. Evaluate. Retry. Experiment! There is no right way, just infinite variables that can produce interesting results. For instance, if instead of “panning” you could rotate your camera at the same speed as the turning of the carnival Ferris wheel, you might get something cool. Now try to imagine other moving objects you can synch with. By the way, looking back, I see that I shot the horse and carriage in Spain at 1/6 sec at f/9. (And yes, I shot a lot of bad shots to get this one.)

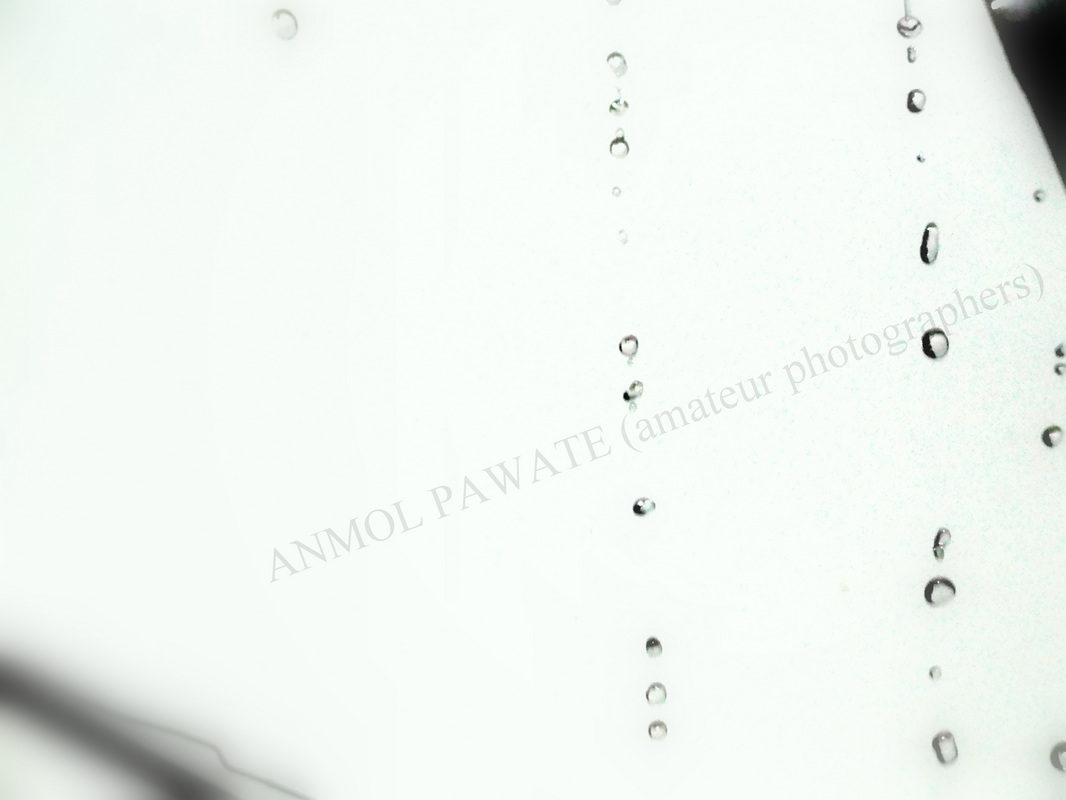
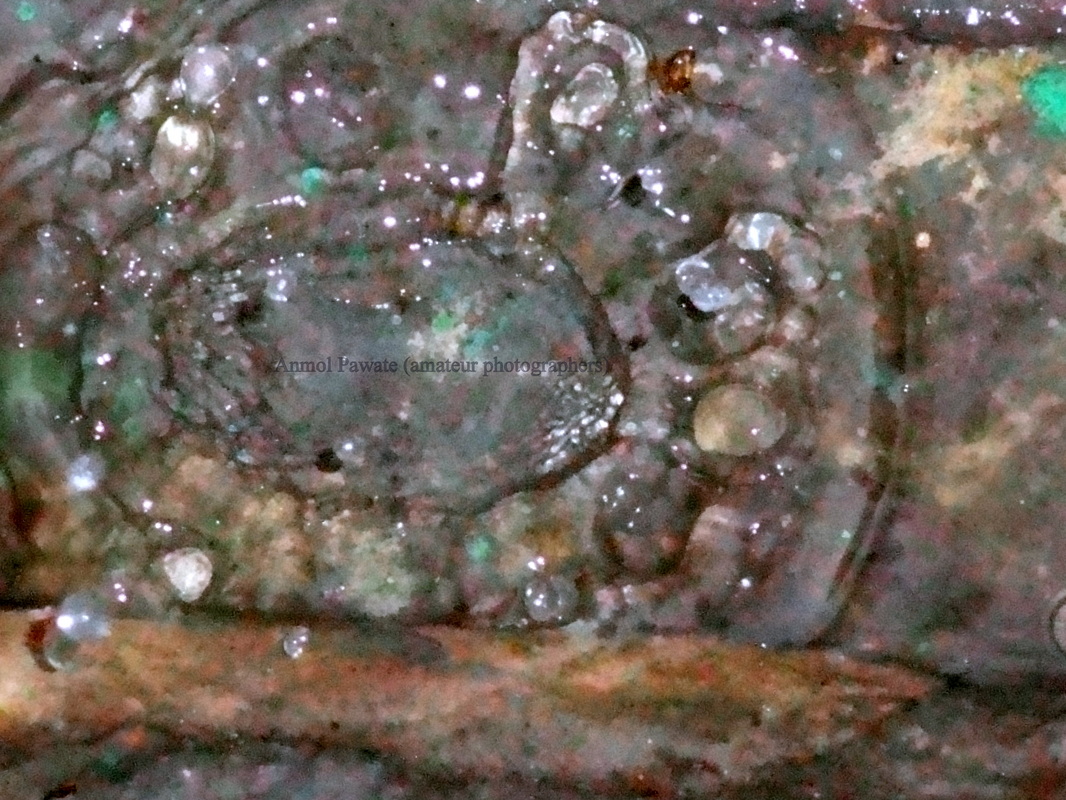
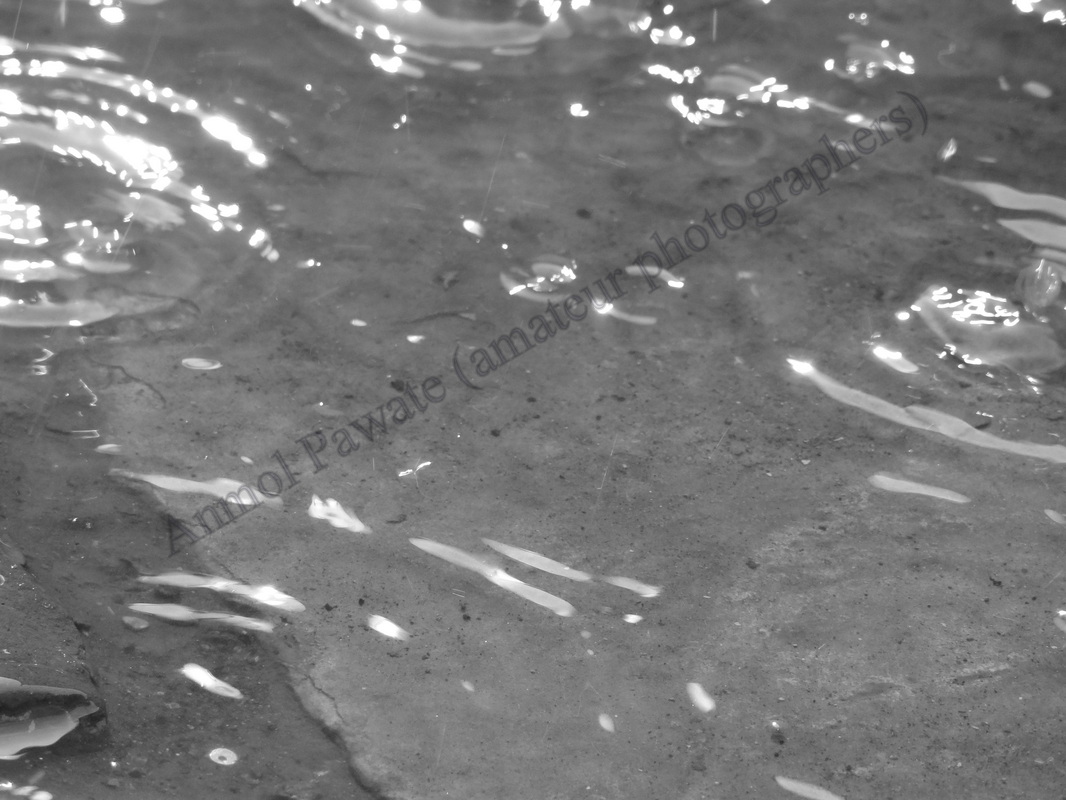
Taking Photos in the Rain
So, here are a few tips:
- Carry a raincoat for your camera. There are about a million rain covers for camera gear on the market. The real problem is having it with you when it starts to rain. Anything that will protect your camera completely against every storm, up to and including a hurricane, may well be too bulky to carry every day. My advice: Carry camera rain gear in your bag that won’t take up too much space and will get you by in a pinch. My current favorite is the Storm Jacket from Vortex Media (www.warmcards.com/SJ1.html). It has an adjustable elastic band up front to cinch around the front of the lens and another at the back to give your hand room to reach inside to run the camera. Simple but effective in many wet situations.
- Carry a gallon-size plastic bag. In a pinch, it will do a passable job of keeping a camera dry. Punch a hole in one end to poke the lens through and stick your hand in the other end.
- Look for porches and awnings. Park under a dry spot and wait for the pictures to come to you. Have a glass of wine, read a book, discuss Proust ad infinitum. Just be patient.
- Shoot from inside a car. This is often the best course of action, and sometimes it's the only practical answer. You can often roll down the window and stay pretty dry, especially if the wind is at your back (coming from the other side of the car). This was the case when I photographed a freight train of a thunderstorm out in the Flint Hills of Kansas for National Geographicmagazine. I outraced the storm to a great vantage point and turned the car sideways so I could look down a winding pasture road. The rain beat mercilessly behind me as the funnel clouds dipped and soared, but I kept dry and kept shooting. (Don’t try this at home.)
- Buy an umbrella. I always carry a small folding umbrella in my camera bag. It’s five inches long (13 centimeters) folded—just big enough to keep my camera out of the worst wetness. If you are in a city when it starts to rain, look around for an umbrella vendor. I found one in Venice and bought two, each a different color. (Why? There’s a tip about this coming up.) It would be nice if you had a trusty assistant (or patient spouse) to carry the umbrella, but I find I can do a lot of work just holding the shaft of the umbrella in my left hand, which also grips the camera. A little awkward, yes, but it has the advantage of keeping the umbrella right over the camera. (Do I need to add here that this advice does not apply in thunderstorms? Umbrellas are remarkably akin to lightning rods in physical construction and work pretty much the same. Remember: If you can hear thunder you are within striking distance of lightning.)
- Include the umbrella in your picture. Actually, your own umbrella can be a very nice compositional framing device. Bring it down into the top of the picture when you are shooting with a wide angle and it nicely fills the upper part of the frame, providing a nice visual cue that it is, in fact, raining. If the streets are full of people under umbrellas, yours fits in with the crowd. But it can do one more important thing. While we think of rain clouds being dark and foreboding, they are, in fact, often the light source for a rainy scene. Hence, the clouds are bright and the scene below is dark. Use the umbrella to cover up the too-bright clouds and your scene can suddenly look much better exposed. (Those two umbrellas I bought in Venice? It was because I wasn’t sure which color would look best in my pictures.)
- Watch for reflections. Unless you are in a downpour, it is difficult to actually see the rain itself. So you have to leave visual clues that it is raining. Look for ways that the rain transforms banal scenes into rich, reflected murals. This is what made the streets of Venice so glittering at night during our workshop. It also is the reason I chased that pigeon all over that piazza, silhouetting it against the reflected storefronts.
- Backlight the rain. Rain becomes more visible when it is backlit. The light coming through the raindrops is concentrated and slightly brighter than the rest of the scene. So find some light sources and shoot toward it. This could be a streetlight at night, or it could be the sun breaking though the clouds. Whatever the case, the rules are the same. One, the more directly you shoot into the light, the better you can see the raindrops. Two, shoot too directly and the light source will overpower your exposure. So always seek that magic angle in between. By the way, that umbrella you’ve been carrying can serve as a serviceable lens shade.
- Pop just a little flash. Huh? No, really, I mean it. Your flash will light up the raindrops, usually a bad thing because it will pump out way too much light as it tries to light up your subject. You don’t want that. But turn it way down (like -3.0 stops) and it will add just a little pop to the raindrops. This technique is tricky; you’ll have to experiment. Maybe it won’t work at all, but if it does, it can be quite magical. (Also works on snowflakes sometimes.)
- Be on the lookout for joy or misery. Rain transforms people. We react to rain with a gamut of emotions, from the sullen dread of rain-drenched commuters to the wondrous joy of children. Capture those emotions and you’ll have a great rain picture.